Filmora: Applying rotation keyframes
 Filmora
Demo summary
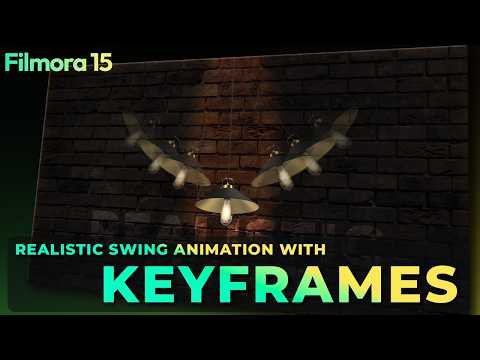
The user walks through placing the playhead at specific intervals and changing rotation values to create a swinging motion for the light asset.
Step-by-step
- Place the playhead at the starting point of the image
- Change the rotation to 80° and enable the keyframe
- Move the playhead to the 3-second mark and change the rotation to -60°
- Move the playhead to the 6-second mark and change the rotation to 42°
- Move the playhead to the 9-second mark and change the rotation to -30°
- Move the playhead to the 12-second mark and change the rotation to 20°
- Move the playhead to the 15-second mark and change the rotation to -10°
- Move the playhead to the 17-second mark and change the rotation to 5°
- Move the playhead to the end of the clip and change the rotation to -3°
All demos from “Why Keyframes Make Your Videos Look Professional | Filmora 15 Tutorial”
- 1:060:30Import and color grade background in Filmora 15The user demonstrates importing images into the media bin, placing them on the timeline, and adjusting color settings like vibrance, saturation, and exposure in Filmora 15.Filmora· AI Video Editor
- 1:360:37Positioning assets and setting anchor pointsThe narrator shows how to place a light asset on the timeline, adjust its scale, and move the anchor point to the end of the wire to ensure realistic rotation in Filmora 15.Filmora· AI Video Editor
- 2:130:54Applying rotation keyframesCurrentThe user walks through placing the playhead at specific intervals and changing rotation values to create a swinging motion for the light asset.Filmora· AI Animation Generator
- 3:510:26Duplicating and varying animationsThe user demonstrates duplicating tracks, replacing assets via drag-and-drop, and modifying existing keyframes to create variation between multiple swinging lights.Filmora· AI Motion Graphics
- 4:240:15Applying cinematic filtersThe narrator shows how to navigate the filter folder, apply specific cinematic effects, and adjust their opacity in Filmora 15.Filmora· AI Video Editor
- Watch “Why Keyframes Make Your Videos Look Professional | Filmora 15 Tutorial” →
AI Animation Generator
- 2:130:54Applying rotation keyframesCurrentThe user walks through placing the playhead at specific intervals and changing rotation values to create a swinging motion for the light asset.Filmora for Creators
 2:310:56Animate paths using the Pen ToolThe demonstration covers drawing a custom path with the pen tool, adjusting stroke styles, and using the 'path follow' feature to link objects to the animated line.Wondershare Filmora Video Editor
 16:090:41Bezier Curves and Animation GraphsThe user shows how to convert linear keyframes to continuous curves and use the animation graph panel to fine-tune motion timing.Salih Tutorials
 3:070:32Fine-tune animation curves with handlesThe user demonstrates using the adjustment handles on Bézier points to manually customize the acceleration and deceleration of the zoom effect.Wondershare Filmora France