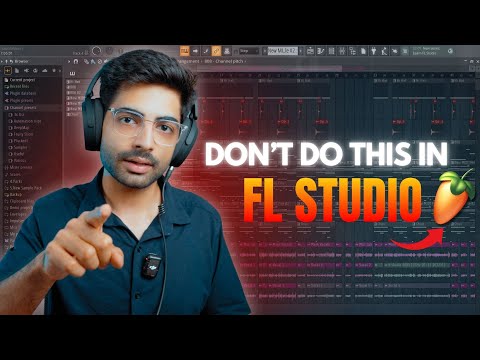
EQing a kick drum in FL Studio
 Fl Studio
Demo summary
The user demonstrates searching for and cutting resonating frequencies on a kick drum sample using an EQ plugin.
Step-by-step
- Add an EQ plugin to the kick drum track
- Sweep through the frequency spectrum to identify resonating frequencies
- Cut the identified resonating frequencies
- Locate and cut frequencies that sound harsh
Tips
- Identify and remove multiple resonating frequencies to improve the kick drum sound
Highlights
“कि भाई चलो किक को बनाते हैं बढ़िया”
All demos from “FL Studio for Beginners: Don’t Make These 10 Common Mistakes”
- 2:030:24EQing a kick drum in FL StudioCurrentThe user demonstrates searching for and cutting resonating frequencies on a kick drum sample using an EQ plugin.Fl Studio· AI Audio Editor
- 5:530:19Routing a reference track to headphones outputThe instructor shows how to unlink a reference track from the Master channel and route it directly to Output 1 and 2 to bypass mastering effects.Fl Studio· AI Mastering
- 11:390:47Sidechain compression with Fruity LimiterA step-by-step walkthrough of sidechaining a bass to a kick using Fruity Limiter, including setting the sidechain input, ratio, and threshold.Fl Studio· AI Audio Editor
- Watch “FL Studio for Beginners: Don’t Make These 10 Common Mistakes” →
AI Audio Editor
 1:53:5128:42Mixing with EQ and the FL Studio MixerA detailed walkthrough of routing instruments to the mixer and using Fruity Parametric EQ 2 to clean up frequencies and sculpt sounds.Mix Elite | FL Studio Tips
- 2:42:1011:30Sidechain Compression SetupThe instructor demonstrates setting up sidechain compression between the kick and the bass using Fruity Limiter's sidechain input.Mix Elite | FL Studio Tips
- 2:53:4010:19Adding Space with Reverb and DelayA demo of applying Fruity Reeverb 2 and Fruity Delay 3 to instruments to create depth and stereo width.Mix Elite | FL Studio Tips
- 3:03:595:26Creating Automation ClipsThe instructor demonstrates how to automate an EQ high-cut filter and reverb wetness over time in the Playlist.Mix Elite | FL Studio Tips
- 3:13:414:23Audio Recording and Editing in FL StudioA walkthrough of configuring ASIO drivers, arming tracks for recording, and using the slice tool to edit recorded audio clips.Mix Elite | FL Studio Tips
- 3:22:563:07Vocal Volume Automation in EdisonDemonstrating how to use the Edison audio editor to manually automate volume envelopes for a more consistent vocal performance.Mix Elite | FL Studio Tips
- 3:39:3612:20Vocal Mixing Chain: De-essing and Parallel ReverbA demo of using Maximus for de-essing and setting up a sidechained reverb bus to keep vocals clear while adding space.Mix Elite | FL Studio Tips
 20:301:35Adding Reverb and Delay effectsThe instructor adds Fruity Reverb 2 and Fruity Delay to a piano track, explaining wet/dry levels and effect chain order.Jay Cactus TV
- 22:051:30Equalizing sounds with Fruity Parametric EQ 2A demonstration of using an EQ to visualize frequencies and apply high-pass filters to remove muddy low-end from melodic instruments.Jay Cactus TV
- 23:361:57Rendering MIDI to Audio and ResamplingThe instructor renders a MIDI pattern into a WAV file (Alt+R) and then manipulates the audio by pitching it down and reversing it.Jay Cactus TV
- 41:450:31Creating a volume fade-out automationA demonstration of using Fruity Balance to create an automation clip that fades out the master volume at the end of the track.Jay Cactus TV
 6:530:28Fixing bass and chord frequency conflictsThe user demonstrates shifting a bassline down one octave to separate it from the chord frequencies, instantly improving clarity in the mix.Memphy