Create an iPhone ringtone with GarageBand
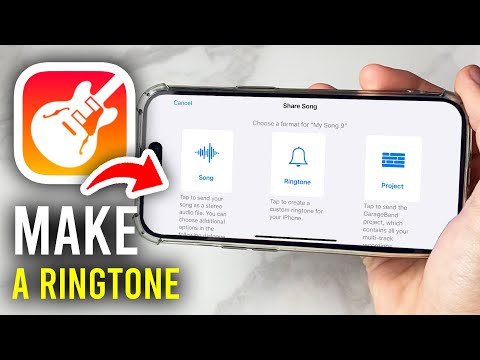

Demo summary
The narrator demonstrates how to import a sound file into GarageBand, adjust the track length, and export the project specifically as a ringtone to the iPhone's system settings.
Step-by-step
- Open GarageBand and tap the plus icon in the top right to create a new project.
- Select the Audio Recorder tool.
- Tap the gear icon, select Metronome and Timing, and switch both off.
- Tap the plus icon on the right side of the timeline and set Section A to Automatic.
- Tap the broken lines icon on the left, then tap the loop icon on the right.
- Go to the Files tab, browse for your downloaded sound file, then tap and hold to drag it into the timeline.
- Adjust the start and end points of the clip and drag it to the beginning of the track.
- Tap the down arrow, select My Songs, long-press your project, and tap Share.
- Select Ringtone, name the file, and tap Export.
Options
- Use built-in GarageBand tools to create a sound from scratch
- Set the exported file as a standard ringtone, text tone, or assign to a contact
- Select the ringtone later via iPhone Settings > Sounds & Haptics
Watch out for
- You must have a sound file already downloaded to your device to use the import method.
Tips
- Turn off the metronome and counting settings to ensure they aren't heard in your final ringtone.
- Set the section length to automatic to ensure the full length of your imported clip is captured.
AI Audio Editor
 2:071:01Recording live ukulele and adjusting tempoThe user demonstrates how to adjust the metronome and tempo settings in GarageBand before recording a live ukulele track through the MacBook microphone.ben barr
- 0:111:23Create an iPhone ringtone with GarageBandCurrentThe narrator demonstrates how to import a sound file into GarageBand, adjust the track length, and export the project specifically as a ringtone to the iPhone's system settings.GuideRealm
 9:062:11Create a manual volume fade in using Master Track automationThe tutorial shows how to reveal the Master Track, enable automation, and drag volume points to create a smooth fade-in for an entire project.The GarageBand Guide
- 11:171:12Generate an automatic volume fade outThe narrator demonstrates the 'Create volume fade out on main output' menu command and explains how to adjust the end-of-project marker to control the timing.The GarageBand Guide
- 12:541:33Fix audio timing errors with Flex TimeThe demo shows how to enable Flex Time in the editor, identify transients in a waveform, and drag flex markers to align off-beat notes with the project grid.The GarageBand Guide
 3:040:30Edit and loop regions in GarageBandThe narrator demonstrates using Command+T to split tracks and dragging the loop section tool to repeat specific musical regions.Sweetwater Soundcheck
- 6:000:16Copy and paste regions to the playheadThe user demonstrates moving the playhead to a specific section and using Ctrl+C/Ctrl+V to duplicate musical regions across the timeline.Sweetwater Soundcheck
- 8:120:32Organize tracks with colors and labelsThe user shows how to assign specific colors to track headers and rename tracks for better project organization.Sweetwater Soundcheck
- 9:190:37Apply pitch correction to vocalsThe narrator demonstrates opening the track editor and applying the 'Limit to Key' pitch correction (autotune) effect to a vocal recording.Sweetwater Soundcheck
- 11:420:33Automate volume in GarageBandThe demonstrator hits the 'A' key to show volume automation lanes and demonstrates drawing points to create volume swells and level adjustments.Sweetwater Soundcheck
- 12:280:42Pan vocal tracks for a wider soundThe user demonstrates how to pan multiple vocal stacks to the left and right to create a 'wall of sound' effect.Sweetwater Soundcheck
- 13:130:37Add plugins and export the final songThe narrator shows how to swap plugins like noise gates or compressors and then uses the 'Share to Music' feature to export the finished track.Sweetwater Soundcheck