Camtasia online: Manage scene-specific collaborator access

 Camtasia online
Demo summary
The presenter shows the left-hand panel controls in Camtasia Online used to restrict collaborators to specific scenes within a project.
Step-by-step
- Locate the left-hand panel in the Camtasia Online editor
- Access the scene-only invite controls
- Select the specific scenes you want to grant access to
- Invite collaborators to those designated scenes
Tips
- Use scene-specific access to ensure collaborators only focus on the parts of the project they are responsible for
All demos from “Real Time Team Collaboration Video Tool | Free Screen Recorder”
- 0:320:22Recording and styling scenes in Camtasia OnlineThe video demonstrates how to select screen sources, record camera footage, and apply custom layouts and effects to individual video scenes using Camtasia Online.Camtasia online· AI Video Recording
- 1:000:06Manage scene-specific collaborator accessCurrentThe presenter shows the left-hand panel controls in Camtasia Online used to restrict collaborators to specific scenes within a project.Camtasia online· AI Video Editor
- Watch “Real Time Team Collaboration Video Tool | Free Screen Recorder” →
AI Video Editor
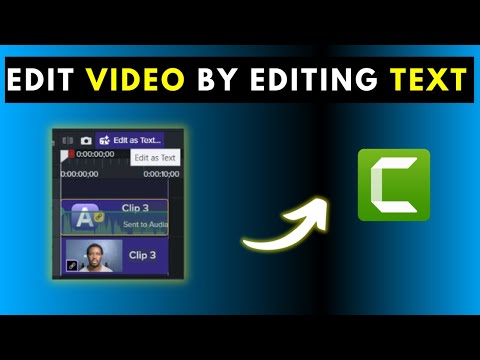 1:191:31Importing video and launching Audiate from CamtasiaThe presenter imports a video file into Camtasia 2026, drags it to the timeline, and clicks the 'Edit as Text' button to launch Camtasia Audiate for transcription.David Mbugua
 4:170:29Trimming video in Camtasia OnlineThe user demonstrates how to use the trim tool to adjust the start and end points of a recorded clip within the Camtasia Online dashboard.Learn Create Market Videos
- 4:480:42Changing video layouts after recordingThe demonstration shows how to swap between different scene layouts and camera positioning after the recording has been completed.Learn Create Market Videos
 2:110:18Trim and re-edit recorded scenesThe video demonstrates using the trim feature to remove footage from the start or end of a scene and retroactively changing layouts and backgrounds after recording.Camtasia
- 2:590:09Export and share video linksThe user demonstrates how to export the final project and generate a shareable URL for distribution.Camtasia
 6:250:27Trim a video clip in Camtasia OnlineThe user demonstrates how to use the trim tool in Camtasia Online to remove the beginning and end of a recorded scene.David Mbugua
- 8:010:48Post-recording customization in Camtasia OnlineThe user shows how to modify the background and visual effects of a video after the recording has already been completed within the Camtasia Online project view.David Mbugua
 3:590:33Collaborate on video projectsThe user demonstrates the collaboration menu in Camtasia Online, showing how to invite others via email and set scene-specific editing permissions.Flipped Classroom Tutorials
 1:171:27Add dynamic subtitles in Camtasia 2024The presenter demonstrates how to drag the Dynamic Subtitles effect onto an audio track in Camtasia 2024 to automatically generate and edit captions.Russell Stannard (TTVideos)
- 3:370:43Create animated chapter titles in CamtasiaThe user shows how to select a pre-made title from the Camtasia Library, drag it to the timeline, and customize the text to create professional video chapters.Russell Stannard (TTVideos)
- 6:591:30Record voice narration over video in CamtasiaThe presenter demonstrates using the Voice Narration tool to record live audio over an existing video clip on the timeline and then applies subtitles to the new recording.Russell Stannard (TTVideos)
 6:400:55Basic video trimming and splitting in CamtasiaThe narrator demonstrates how to use the scrubber, split a clip using the 'S' key, and perform a ripple delete to remove mistakes from a recording.Your Learning Career