Create a new workflow in Higgsfield Canvas

 Higgsfield
Demo summary
The creator demonstrates how to start a new project from scratch and use the right-click menu to add various tool nodes to the visual workspace.
Step-by-step
- Navigate to the 'All Canvas' section
- Click 'Create New Canvas'
- Right-click anywhere on the workspace to open the node menu
- Select a tool or node from the menu to add it to the canvas
Options
- Add different tools or nodes via the right-click context menu
Tips
- Follow the standard workflow logic: write a prompt, generate an image, then convert that image into a video
Highlights
“The idea is simple.”
All demos from “Higgsfield Canvas Tutorial: Create AI Images & Videos in One Workflow”
- 2:400:28Create a new workflow in Higgsfield CanvasCurrentThe creator demonstrates how to start a new project from scratch and use the right-click menu to add various tool nodes to the visual workspace.Higgsfield· AI Animation Generator
- 3:151:35Generate AI images with Higgsfield CanvasThe user inputs a detailed cinematic prompt into a node and uses the 'GPT image 2' model to generate a high-quality image directly on the canvas.Higgsfield· Text to Image
- 4:501:02Animate images using C Dance 2.0The demonstration shows connecting an image node to a video generation node using the C Dance 2.0 model, including adjusting aspect ratio and motion settings to produce a cinematic video.Higgsfield· Image to Video
- Watch “Higgsfield Canvas Tutorial: Create AI Images & Videos in One Workflow” →
AI Animation Generator
 12:311:40AI Video Character Replacement WorkflowA demonstration of a complex workflow where a generated character is merged into a separate scene asset to create an animated video output.DraftID
 1:041:40Create a consistent AI character in Higgsfield Cinema StudioThe user demonstrates how to use the 'Cast' feature in Higgsfield to build a character from scratch by selecting genre, budget, era, archetype, and physical traits like hair and eye color.Get365AI
- 3:491:51Direct a multi-shot AI video sequenceThe user shows how to combine a saved character and environment in the Director panel, set camera movements, and use the 'multi-shot auto' feature to generate a consistent cinematic scene.Get365AI
 6:471:30Directing video scenes with emotion controlsConor demonstrates the Higgsfield video mode interface, selecting saved characters and locations while setting specific emotional states like 'serenity' and 'joy' to influence the generated clip.Creating with Conor
 9:371:15Configure video generation settings and character emotionsThe narrator walks through the director panel in Higgsfield, dropping in character and location assets, and using the 'smile icon' to set specific character emotions like 'vigilance' for the scene.Youri van Hofwegen
 7:182:10Animate talking characters with Higgsfield Kling 3.0The creator shows how to use the Kling 3.0 model in Higgsfield, uploading a reference image and providing a text-to-video prompt with specific dialogue in quotation marks to animate the characters.Taro Creates
 8:241:08Final video generation with audio and video referencesThe user performs a complex task in Higgsfield by combining a timeline prompt, a character board, and a blacked-out video reference to sync audio and visuals for a final dance clip.Mira AI
 3:381:17Setting up a scene in Sea Dance 2The creator navigates the Higgsfield UI to access Sea Dance 2, uploads a key visual image reference, and adds a character sheet to maintain consistency.Jack Vs. AI
 3:511:27Directing multi-shot sequences in Manual ModeThe user walks through the Manual Mode interface in Higgsfield, setting scene durations, camera movements (tracking, orbit, dolly), and character emotion/genre tags for a multi-shot video.Higgsfield AI
- 5:250:51Generating a horror sequence with character referencesThe user demonstrates uploading character reference sheets and a keyframe prompt to generate a consistent multi-shot horror sequence in Higgsfield Cinema Studio 2.Higgsfield AI
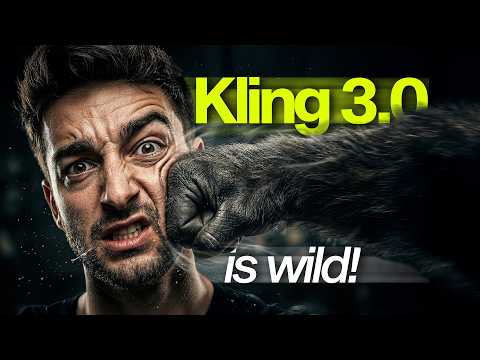 2:571:42Navigating Kling 3.0 settings in HiggsfieldThe creator demonstrates how to access Kling 3.0 models within the Higgsfield interface and explains settings for duration, aspect ratio, and native audio.Sebastien Jefferies
- 7:252:10Setting up character Elements for consistencyThe user shows how to create 'Elements' by uploading character reference images and providing descriptions to maintain subject consistency across AI video generations.Sebastien Jefferies